Printer Modification Part 2; Raspberry Pies solve everything
SergeantBiggs
archlinuxlinuxsystem administrationhardware modificationtechnology
1365 Words
2020-08-09 17:37 +0000
I’ve never had a raspberry pi, because I’ve never seen the point of owning one. Most “common” use cases didn’t make much sense to me. Especially since I’ve always had “home servers”, so much of the classical Raspi stuff never seemed necessary to me. When I need some network service (pihole, NAS, DNS, Firewall, Web servers, etc.) I very much prefer to just let it run on a device with decent specs.
That said, I very much like the Pi Zero, especially the Zero W. It’s very small, very versatile and very very cheap. It’s especially handy if you want to do things with microelectronics. And it’s exactly what I need for the second function of my DeskJet: the scanning function.
Getting a fully functioning scanning device has been a journey. One of epic proportions. One of heartbreak and failure, but ultimately of success.
The story begins with the fact that SANE doesn’t really have a windows client. Yes, there are deprecated pieces of software floating around SourceForge (who remembers those guys, eh?), but I really don’t like the idea of using one of those. Especially since I will then be dependent on this software for years. So I started writing my own scanning “interface”. I decided to go with a HTTP server, since it is platform-independent. It also allows me to add new features and write my own “API”. The server has a PHP script which just executes a command that scans the image. I would not recommend this approach, because it has a lot of security problems, but it works quite well for me. I’m not too worried about this for my own setup, since the server is only exposed to the LAN and is protected with a password. I don’t recommend this for any kind of production setup though.
The finished scan is saved on an SMB share. The clients in the network can access this share. The share is read-only, so users can’t delete files of other users. So the share doesn’t get filled with thousands of documents, the files in the folder will be periodically deleted. This is done with a simple Bash script that is periodically executed with a cron job.
For this setup you will need: a web server + a PHP implementation. I’m using NGINX and PHP-FPM. You also need some network share for the scanned files.
First we install php-fpm and nginx and configure them accordingly. I’ll include examples of the configuration files.
server {
	server_name scan.example.lan;
	listen 443 ssl http2;
	ssl_certificate /etc/ssl/cert.pem;
	ssl_certificate_key /etc/ssl/key.pem;

	auth_basic "Scan Web Interface";
	auth_basic_user_file scan_authfile;

	root /var/www/scan.example.lan;
	location / {
		index               index.html;
	}

	location ~ \.php$ {
		# 404
		try_files $fastcgi_script_name =404;

		include fastcgi_params;

		fastcgi_pass                        unix:/run/php-fpm/php-fpm.sock;
		fastcgi_index                       index.php;
		fastcgi_buffers                     8 16k;
		fastcgi_buffer_size                 32k;

		fastcgi_param DOCUMENT_ROOT         $realpath_root;
		fastcgi_param SCRIPT_FILENAME       $realpath_root$fastcgi_script_name;
	}
The web interface itself is as simple as possible, because web development is not my forté. Look at the HTML and PHP as a minimalistic example to get you started:
<!DOCTYPE html>
<html>
    <head>
        <meta charset="UTF-8">
        <title>Best scanning page ever</title>
        <link href="/styles.css" rel="stylesheet" type="text/css" media="all">
    </head>
    <body>
         <form action="index.php" method="post">
            <input type="submit" name="scan" value="Click to scan">
        </form>
    </body>
</html>
<?php
$datetime = date("Y-m-d_His");
exec("scanimage -o /media/smb/scan/${datetime}.jpg --format=jpeg --resolution 300");
echo "Scan done";
?>
The share definition in smb.conf:
[scan]
comment = Scan Share
path = /media/smb/scan/
valid users = @users
public = no
writable = no
printable = no
The bash script that periodically deletes the folder. Because the name of the file is the date, it is relatively trivial to delete all files that are older than a certain time.
#!/bin/bash
shopt -s nullglob

SCAN_FOLDER=/media/smb/scan/

function error_exit() { echo "Error, exiting!"; exit 1; }

function delete_snapshots() {
CUTOFF="$1"
for scan_file in *; do
    snapshot_date=$(echo "$scan_file" | awk -F '_' '{ print $1 }')
    # If date is invalid, exit
    date --date "$snapshot_date" &> /dev/null || error_exit

    if [[ $(date --date "$snapshot_date" +%s) -lt $(date --date "$CUTOFF" +%s) ]]; then
        rm "$scan_file"
        echo "Deleted file: $scan_file"
    fi
done
}

cd "$SCAN_FOLDER" || error_exit

# Delete files that are older than one day
delete_snapshots "1 day ago"
Some settings for php-fpm need to be changed. This is necessary, because
php-fpm includes is hardened by default. One of these is the fact
that it can’t access physical devices on the system (the files in /dev/).
Instead it only gets access to a set of virtualized pseudo-devices (e.g.
/dev/random). This is a very sensible default because in 99% of cases you
really don’t need that access when running a web server. But in our case we
need access to the scanner. To change these defaults, we need to change the
systemd service file for php-fpm.
To do this run systemctl edit php-fpm.service and add the following lines:
[Service]
PrivateDevices=false
We also need to add the user http (or whatever user runs your nginx instance)
to the scanner group so the server has the necessary permissions to scan:
usermod -aG scanner http
If you’re wondering how the Raspberry Pi plays into all of this, don’t despair dear reader! It will all become apparent now. The problem with this setup is that the scanner is in the living room. So every time I want to scan a document, I have to:
- Walk to the scanner
- Put a page in the scanner
- Walk back to my computer
- Navigate to the web interface
- Click on Scan
- Repeat for every page
This is highly annoying, and I wanted a simpler solution. One that enables me to scan while standing next to the scanner. Then I can just scan all pages and copy them from the share when I’m done. The first thing that sprang to mind was to write an App/Shortcut for my Smartphone. While this would work well, there are some things I don’t like about this solution. I often don’t have my phone in my pocket when I’m home, because I don’t need it. I would have to take the phone out, navigate to the page, input the credentials, etc. The ideal solution would be a button on/next to the scanner. I thought about a lot of solutions. At first I wanted a button that is connected over USB. But I didn’t really know how to deal with authentication so I dropped the idea.
After giving it some thought, I decided to go to the master of bizarre solutions for difficult problems: my good friend radow. They once unironically suggested to implement a print server by setting up an email server, which then prints the attachments of the emails it receives. This “implementation” was posited as a solution to the problem “I need a networked printer for me and my 3 roommates”. We also once filed down the flat blade on a DVI-I plug, so it would fit into a DVI-D socket.
Spoiler alert: it did not work.
After some deliberation we came to the conclusion that my best bet would be some kind of networked solution, since I already have the HTTP interface. So I settled on using a raspberry pi. That way I can solder a button to the GPIO pins. When the button is pressed a script is executed that initiates a scan.
#!/usr/bin/env python3

import sys
import RPi.GPIO as GPIO
import requests
from time import sleep

PIN_BUTTON = 18
GPIO.setmode(GPIO.BCM)

GPIO.setup(PIN_BUTTON, GPIO.IN, pull_up_down=GPIO.PUD_DOWN)

while True:
    try:
        GPIO.wait_for_edge(PIN_BUTTON, GPIO.RISING)
        requests.post('https://scan.example.lan/index.php', auth=('user', 'password'))
        sleep(0.5)
    except KeyboardInterrupt:
        GPIO.cleanup()
        sys.exit()
To deal with power I decided to use a mountable micro usb socket that extends to a usb plug. We can then just plug in another micro usb cable into the back of the printer.
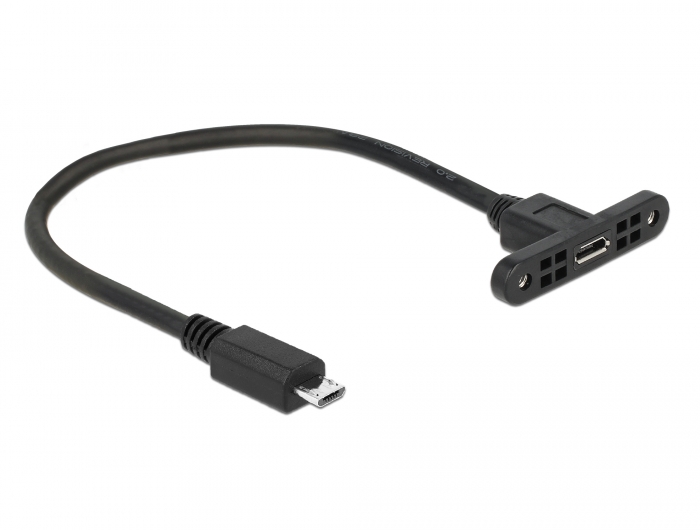
The cable I will be using
I don’t have any kind of dremeling tool, so I just decided to drill a round hole into the plastic and mount it that way. It is an ugly solution, but it works.
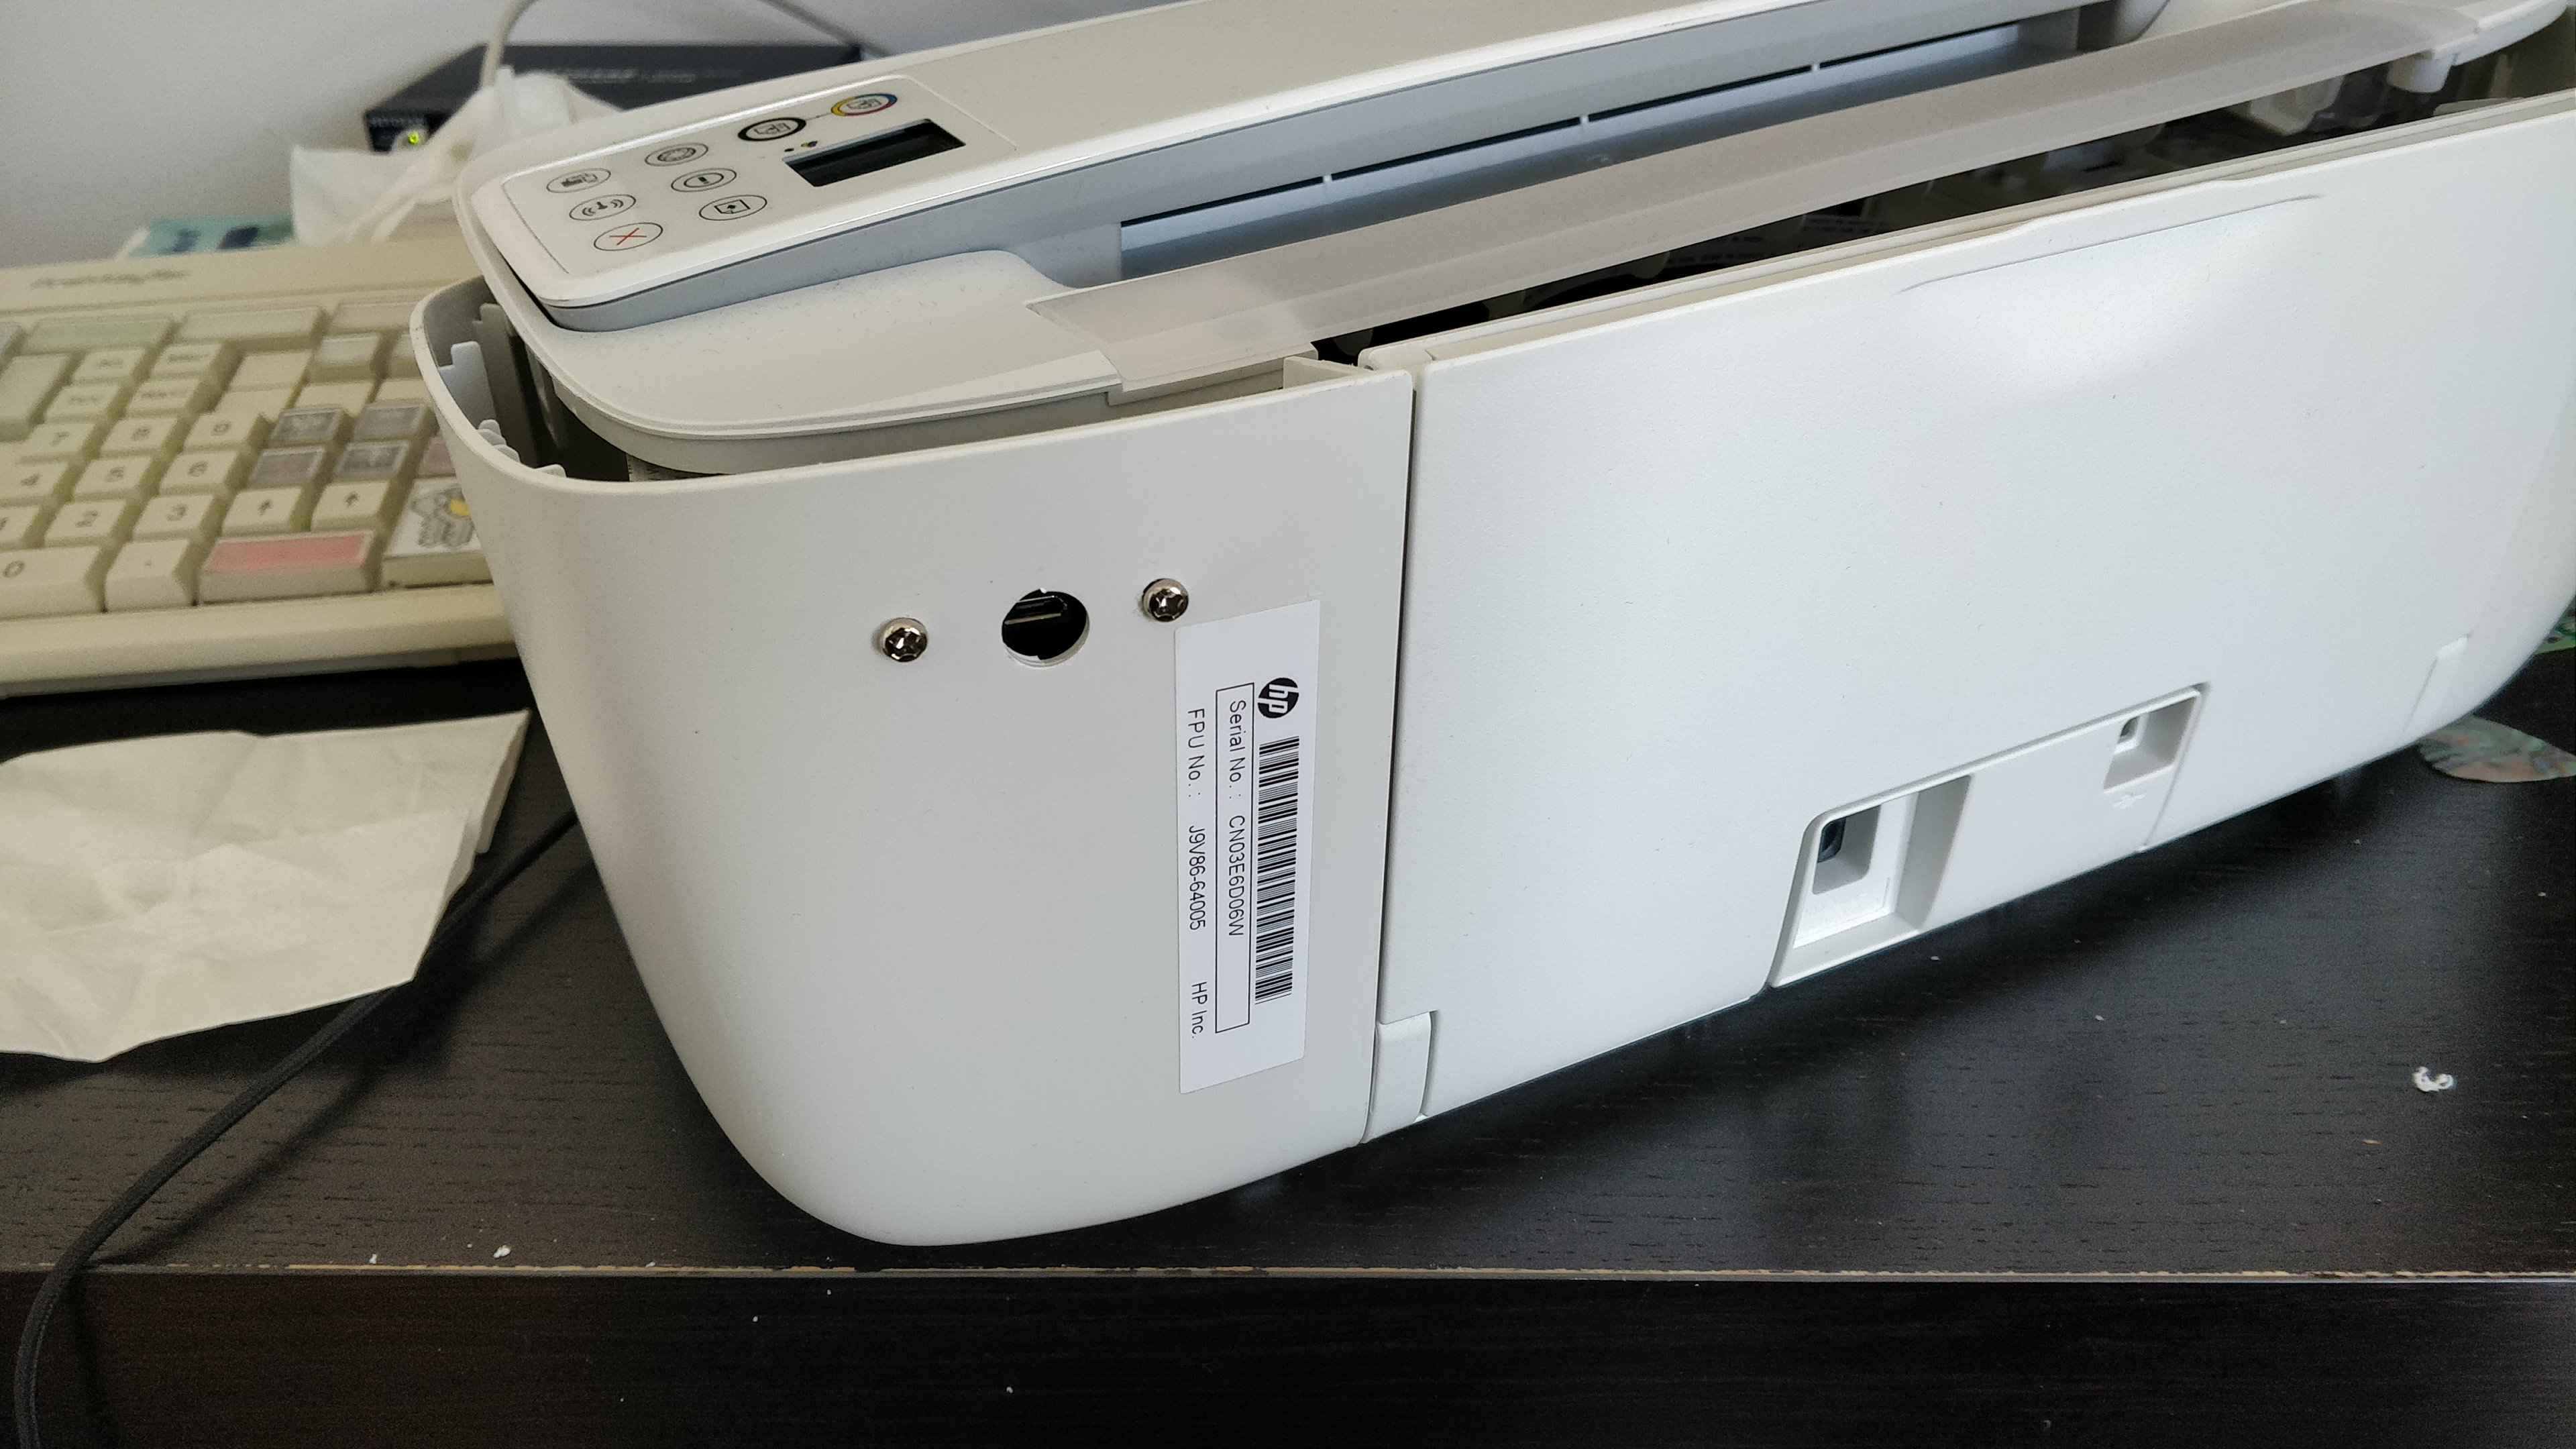
Back of the printer
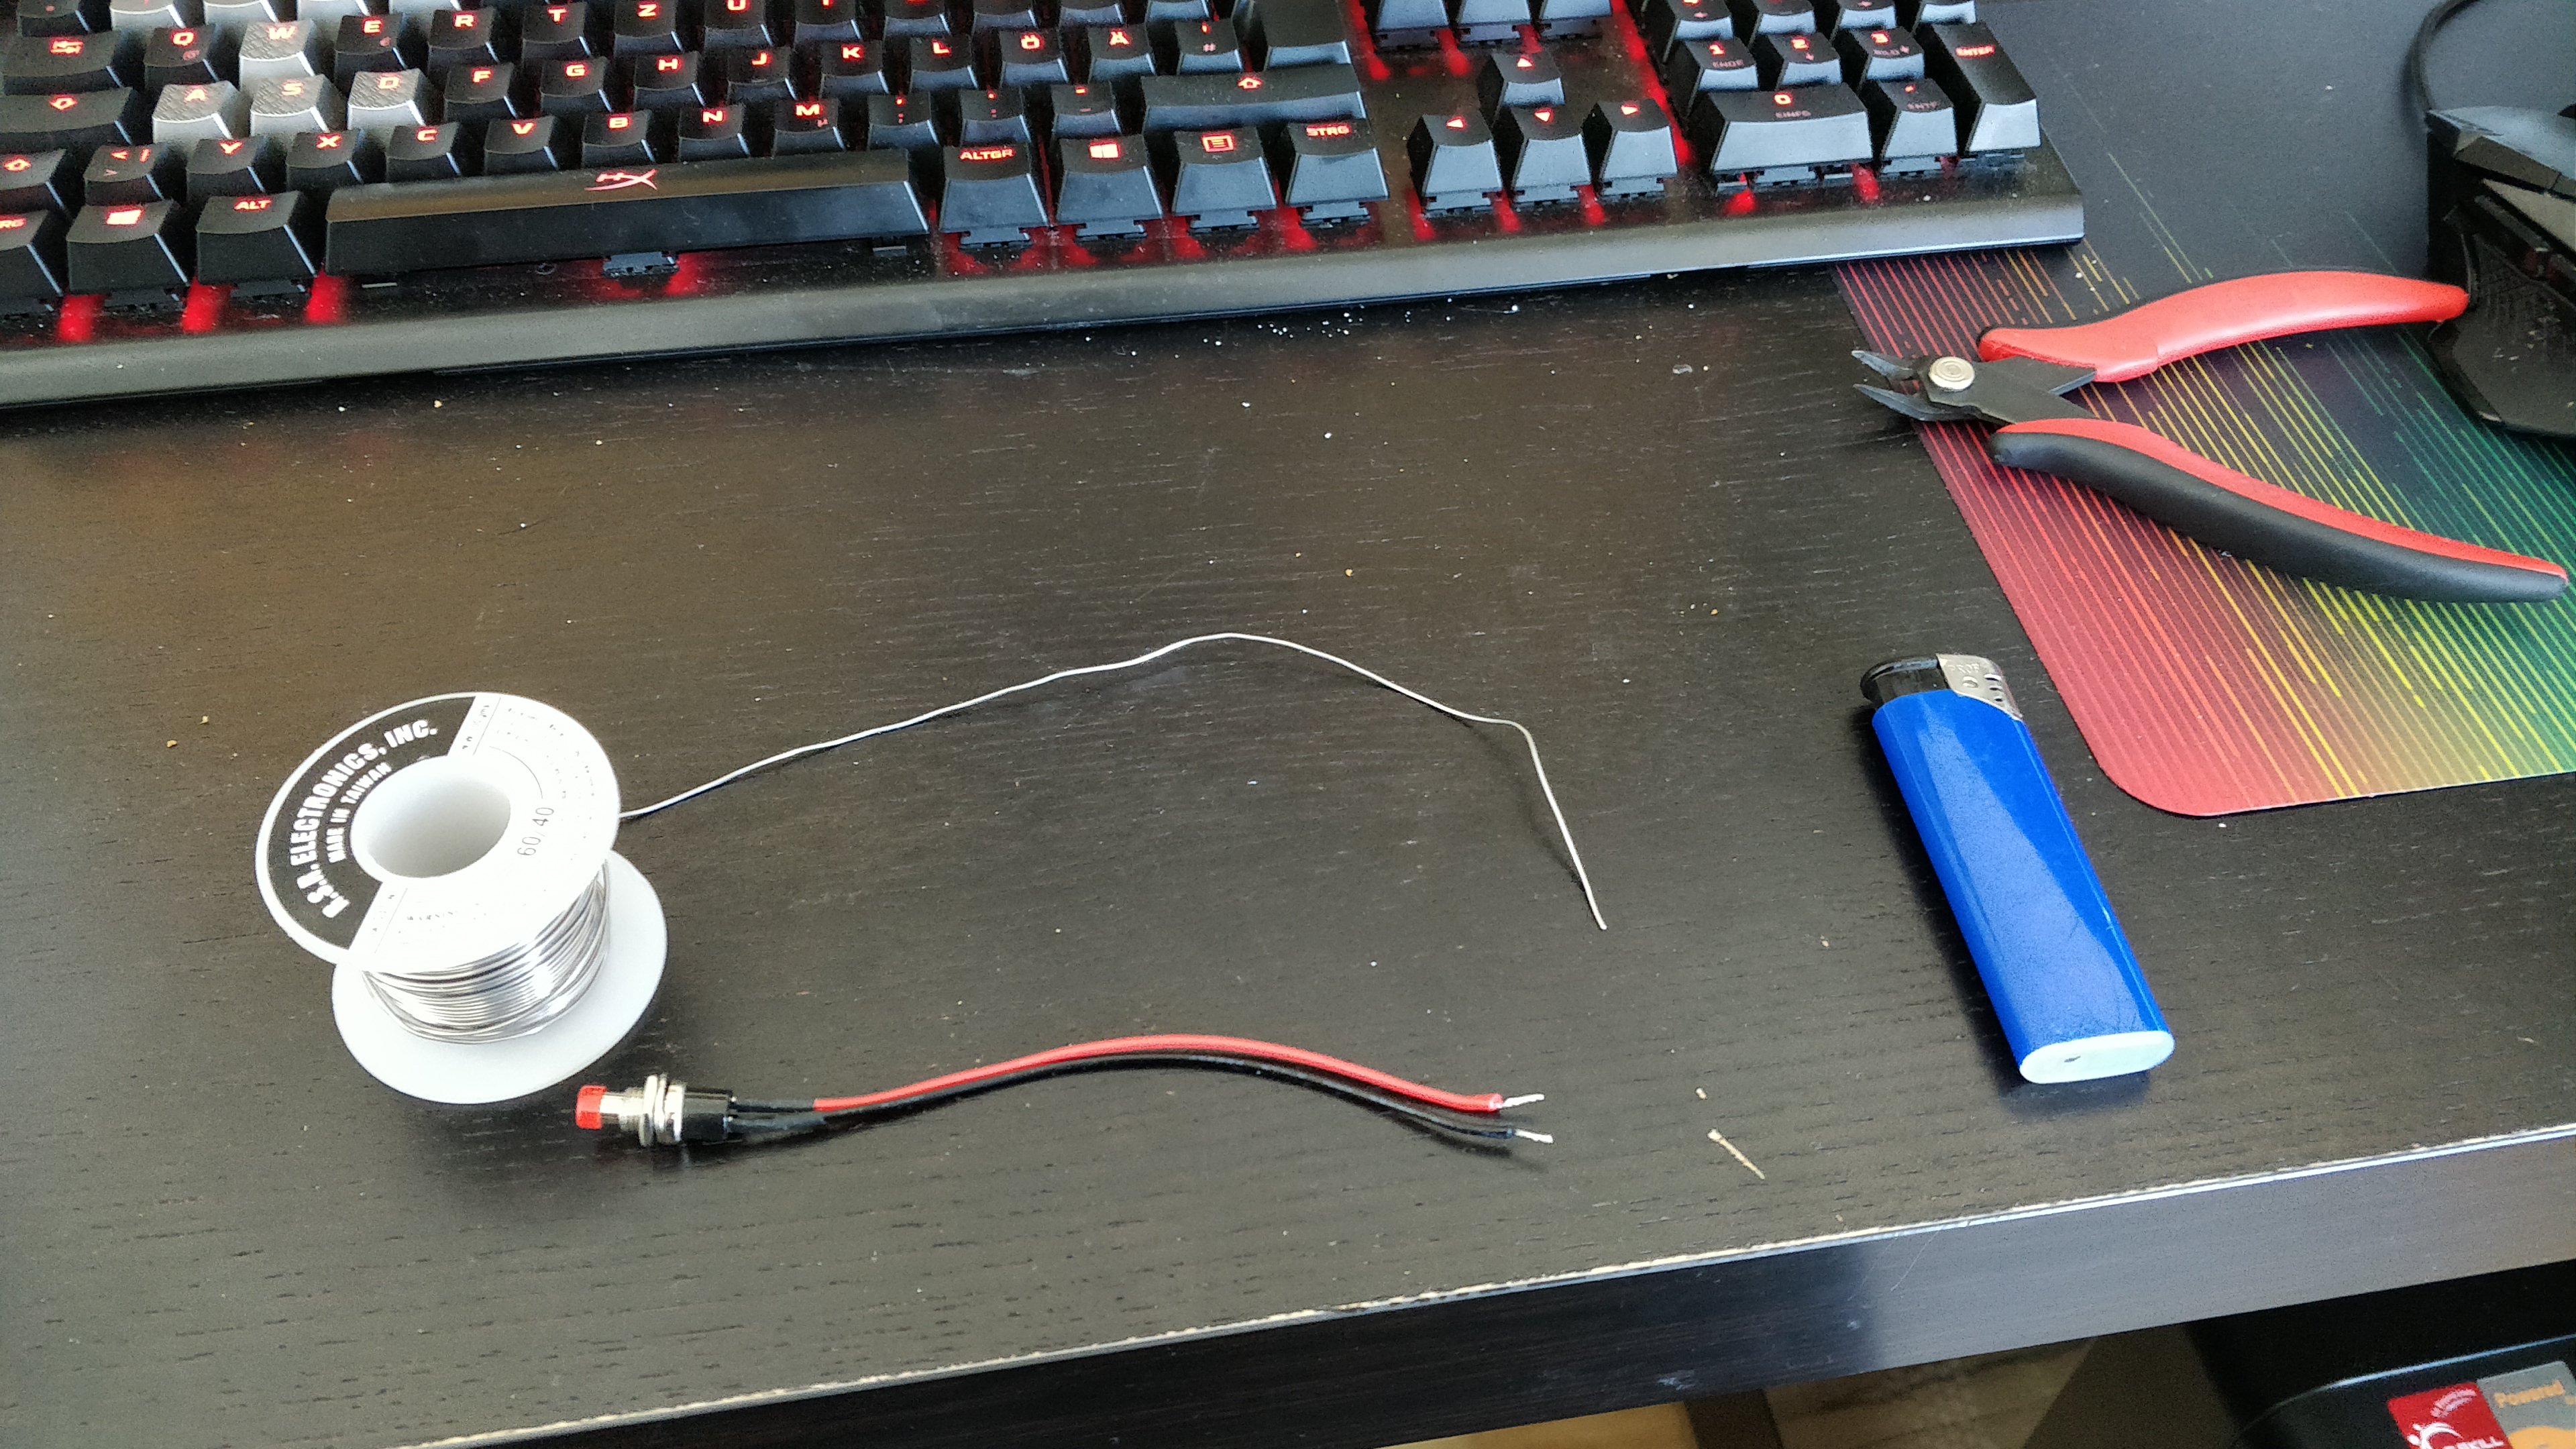
The button I’ll be using

Et voilá, the button is soldered
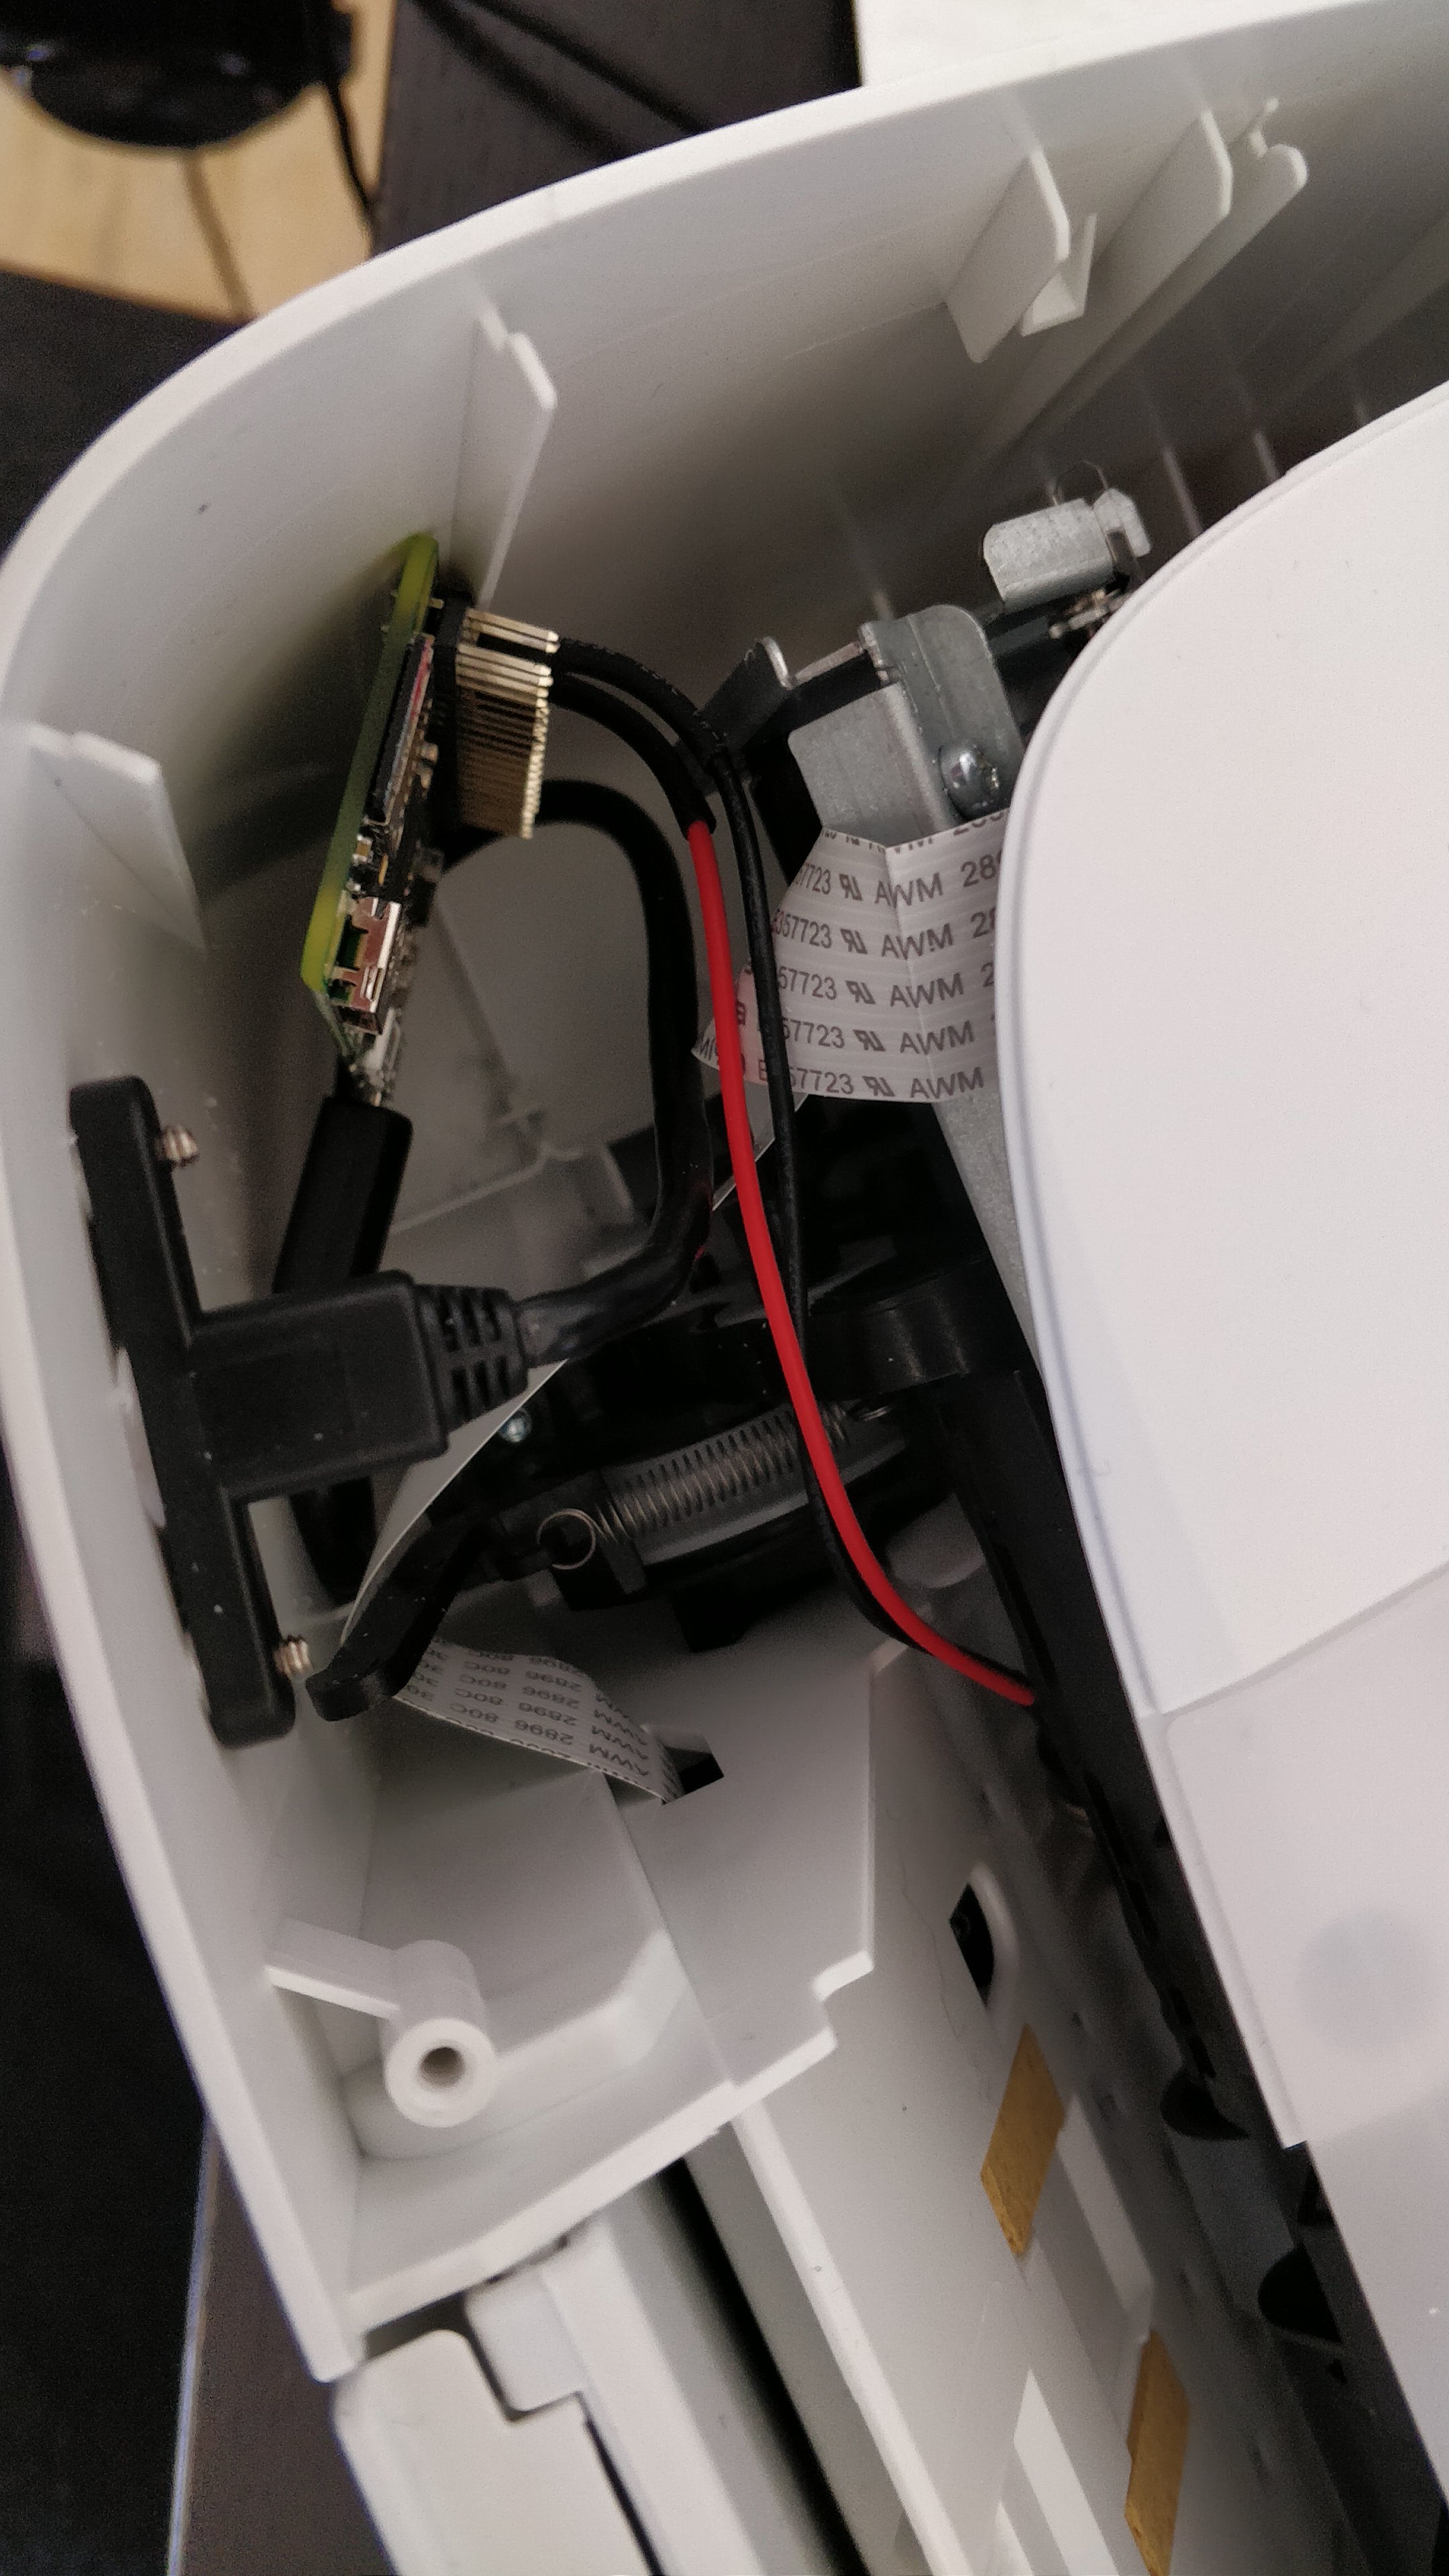
‘Mounting’ the Pi
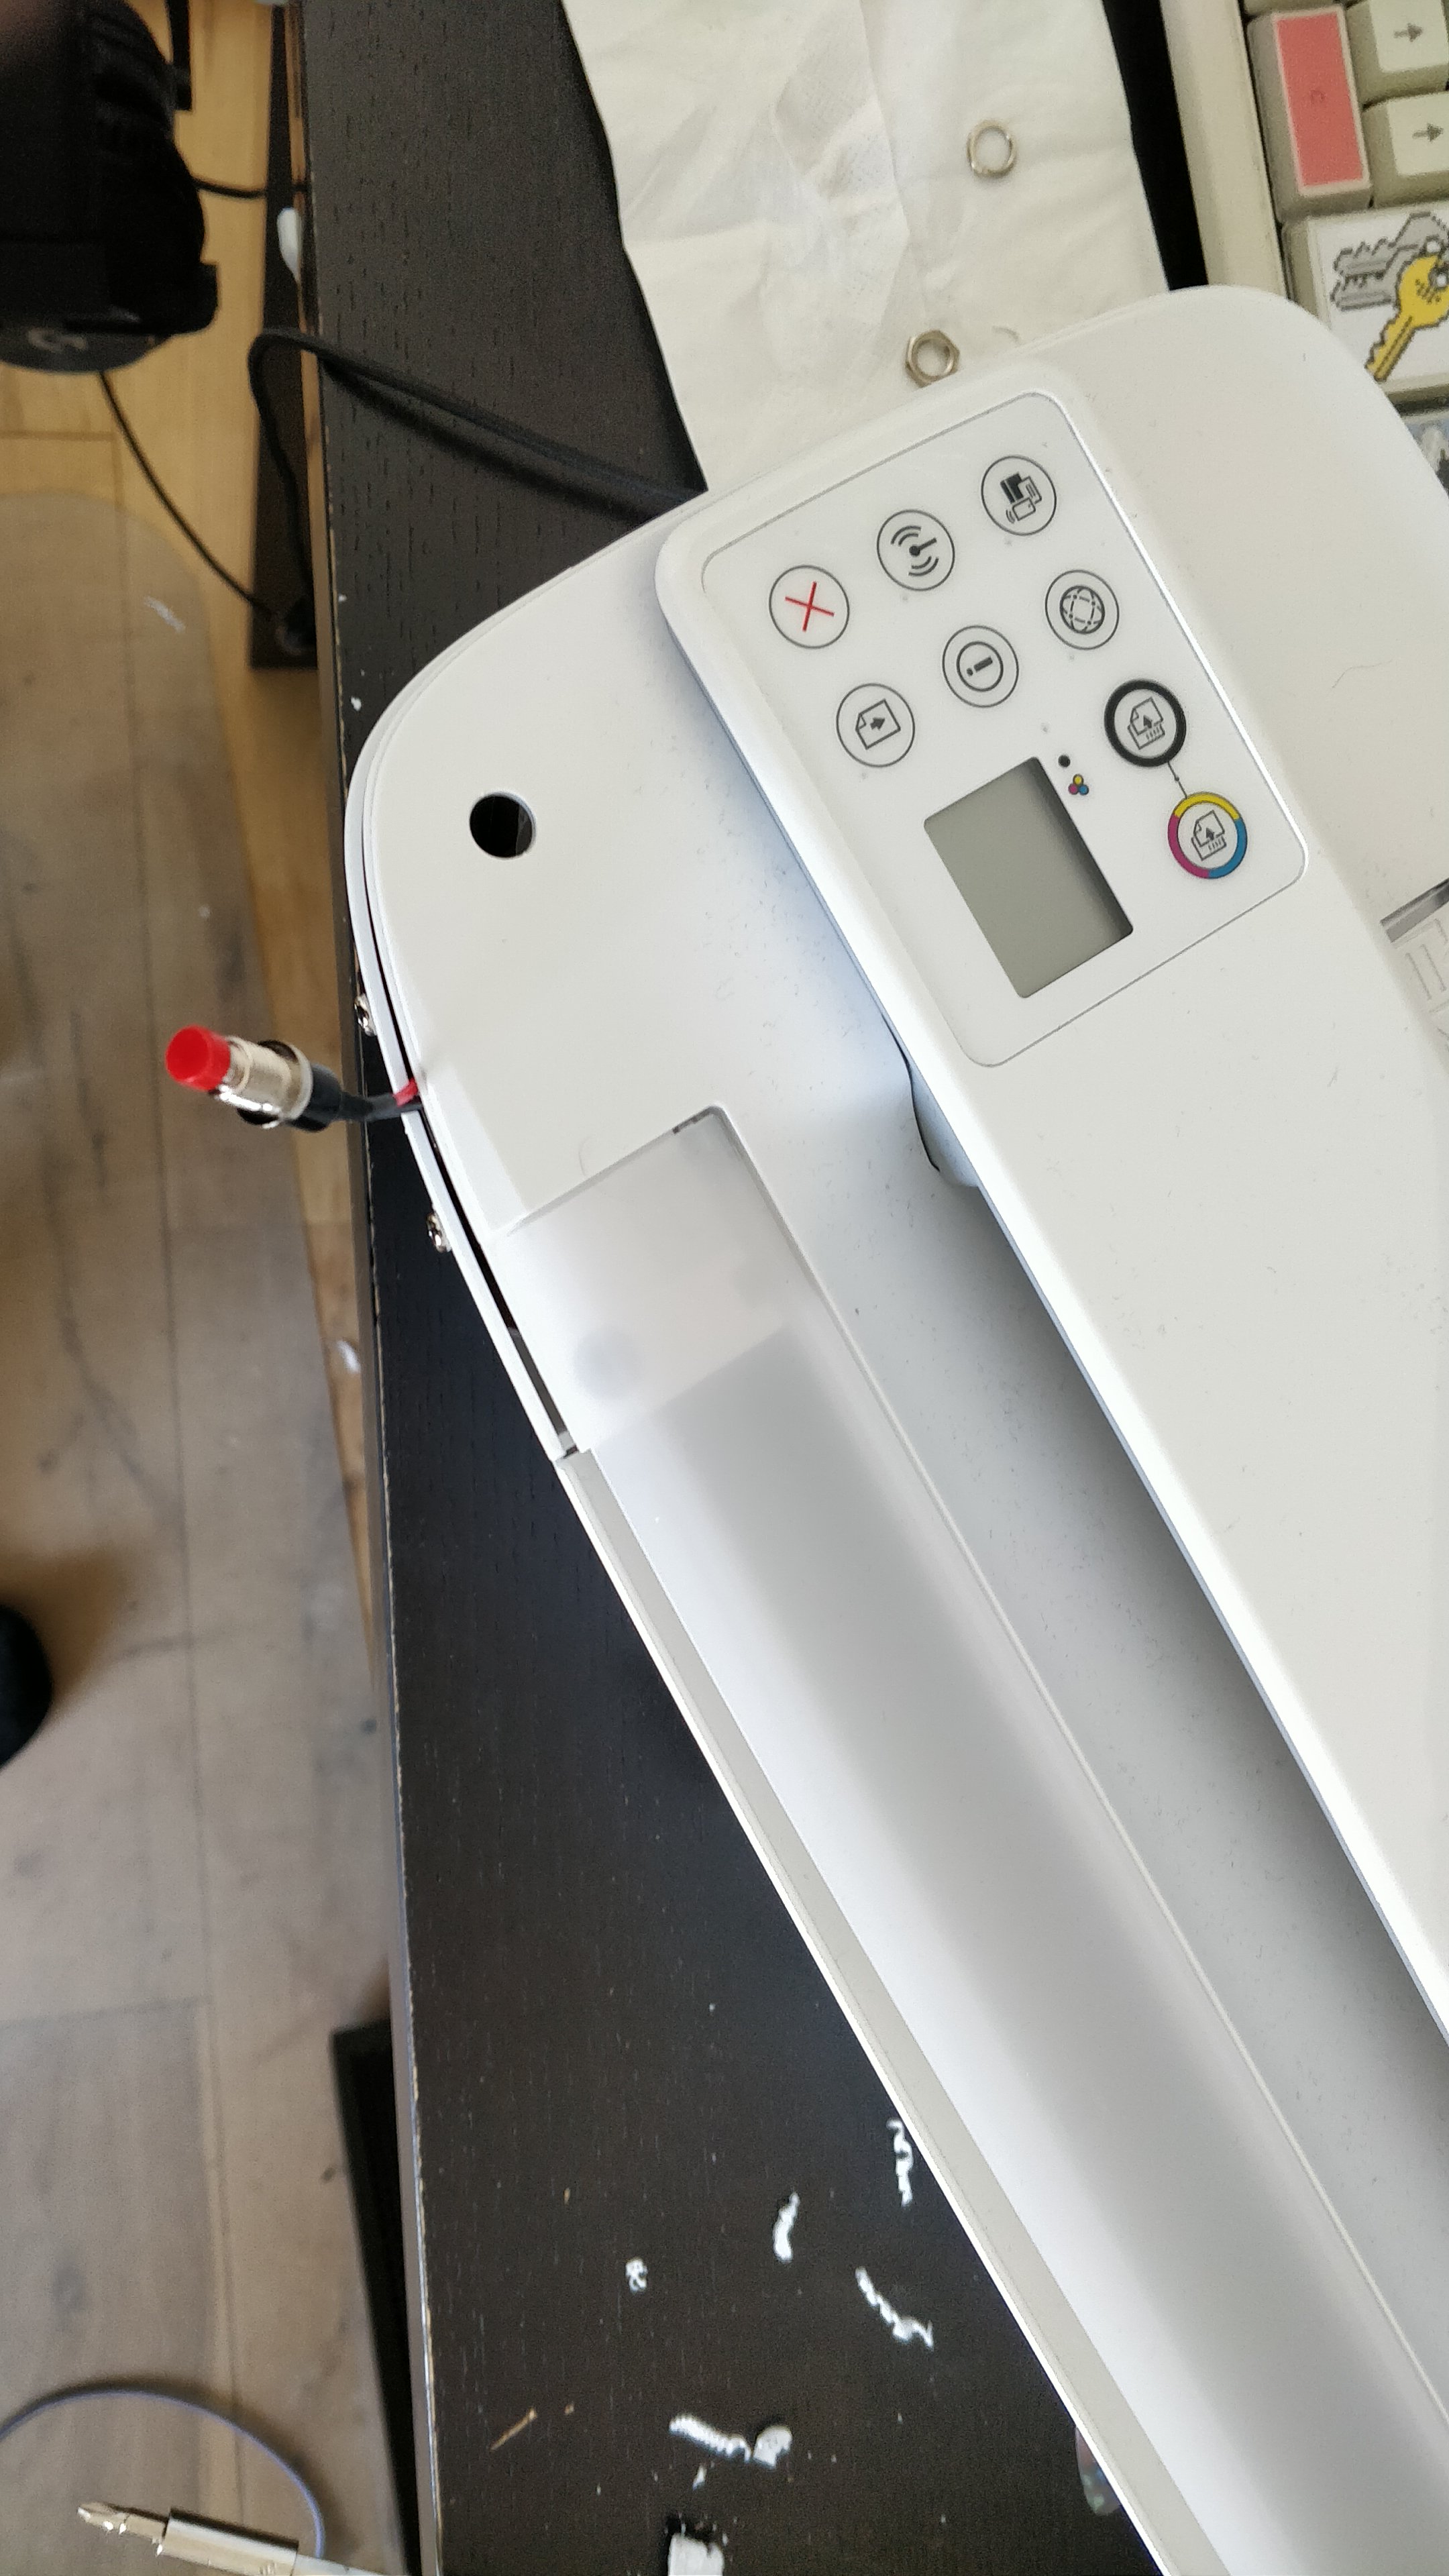
Drilling a hole into the top and mount the button in there.
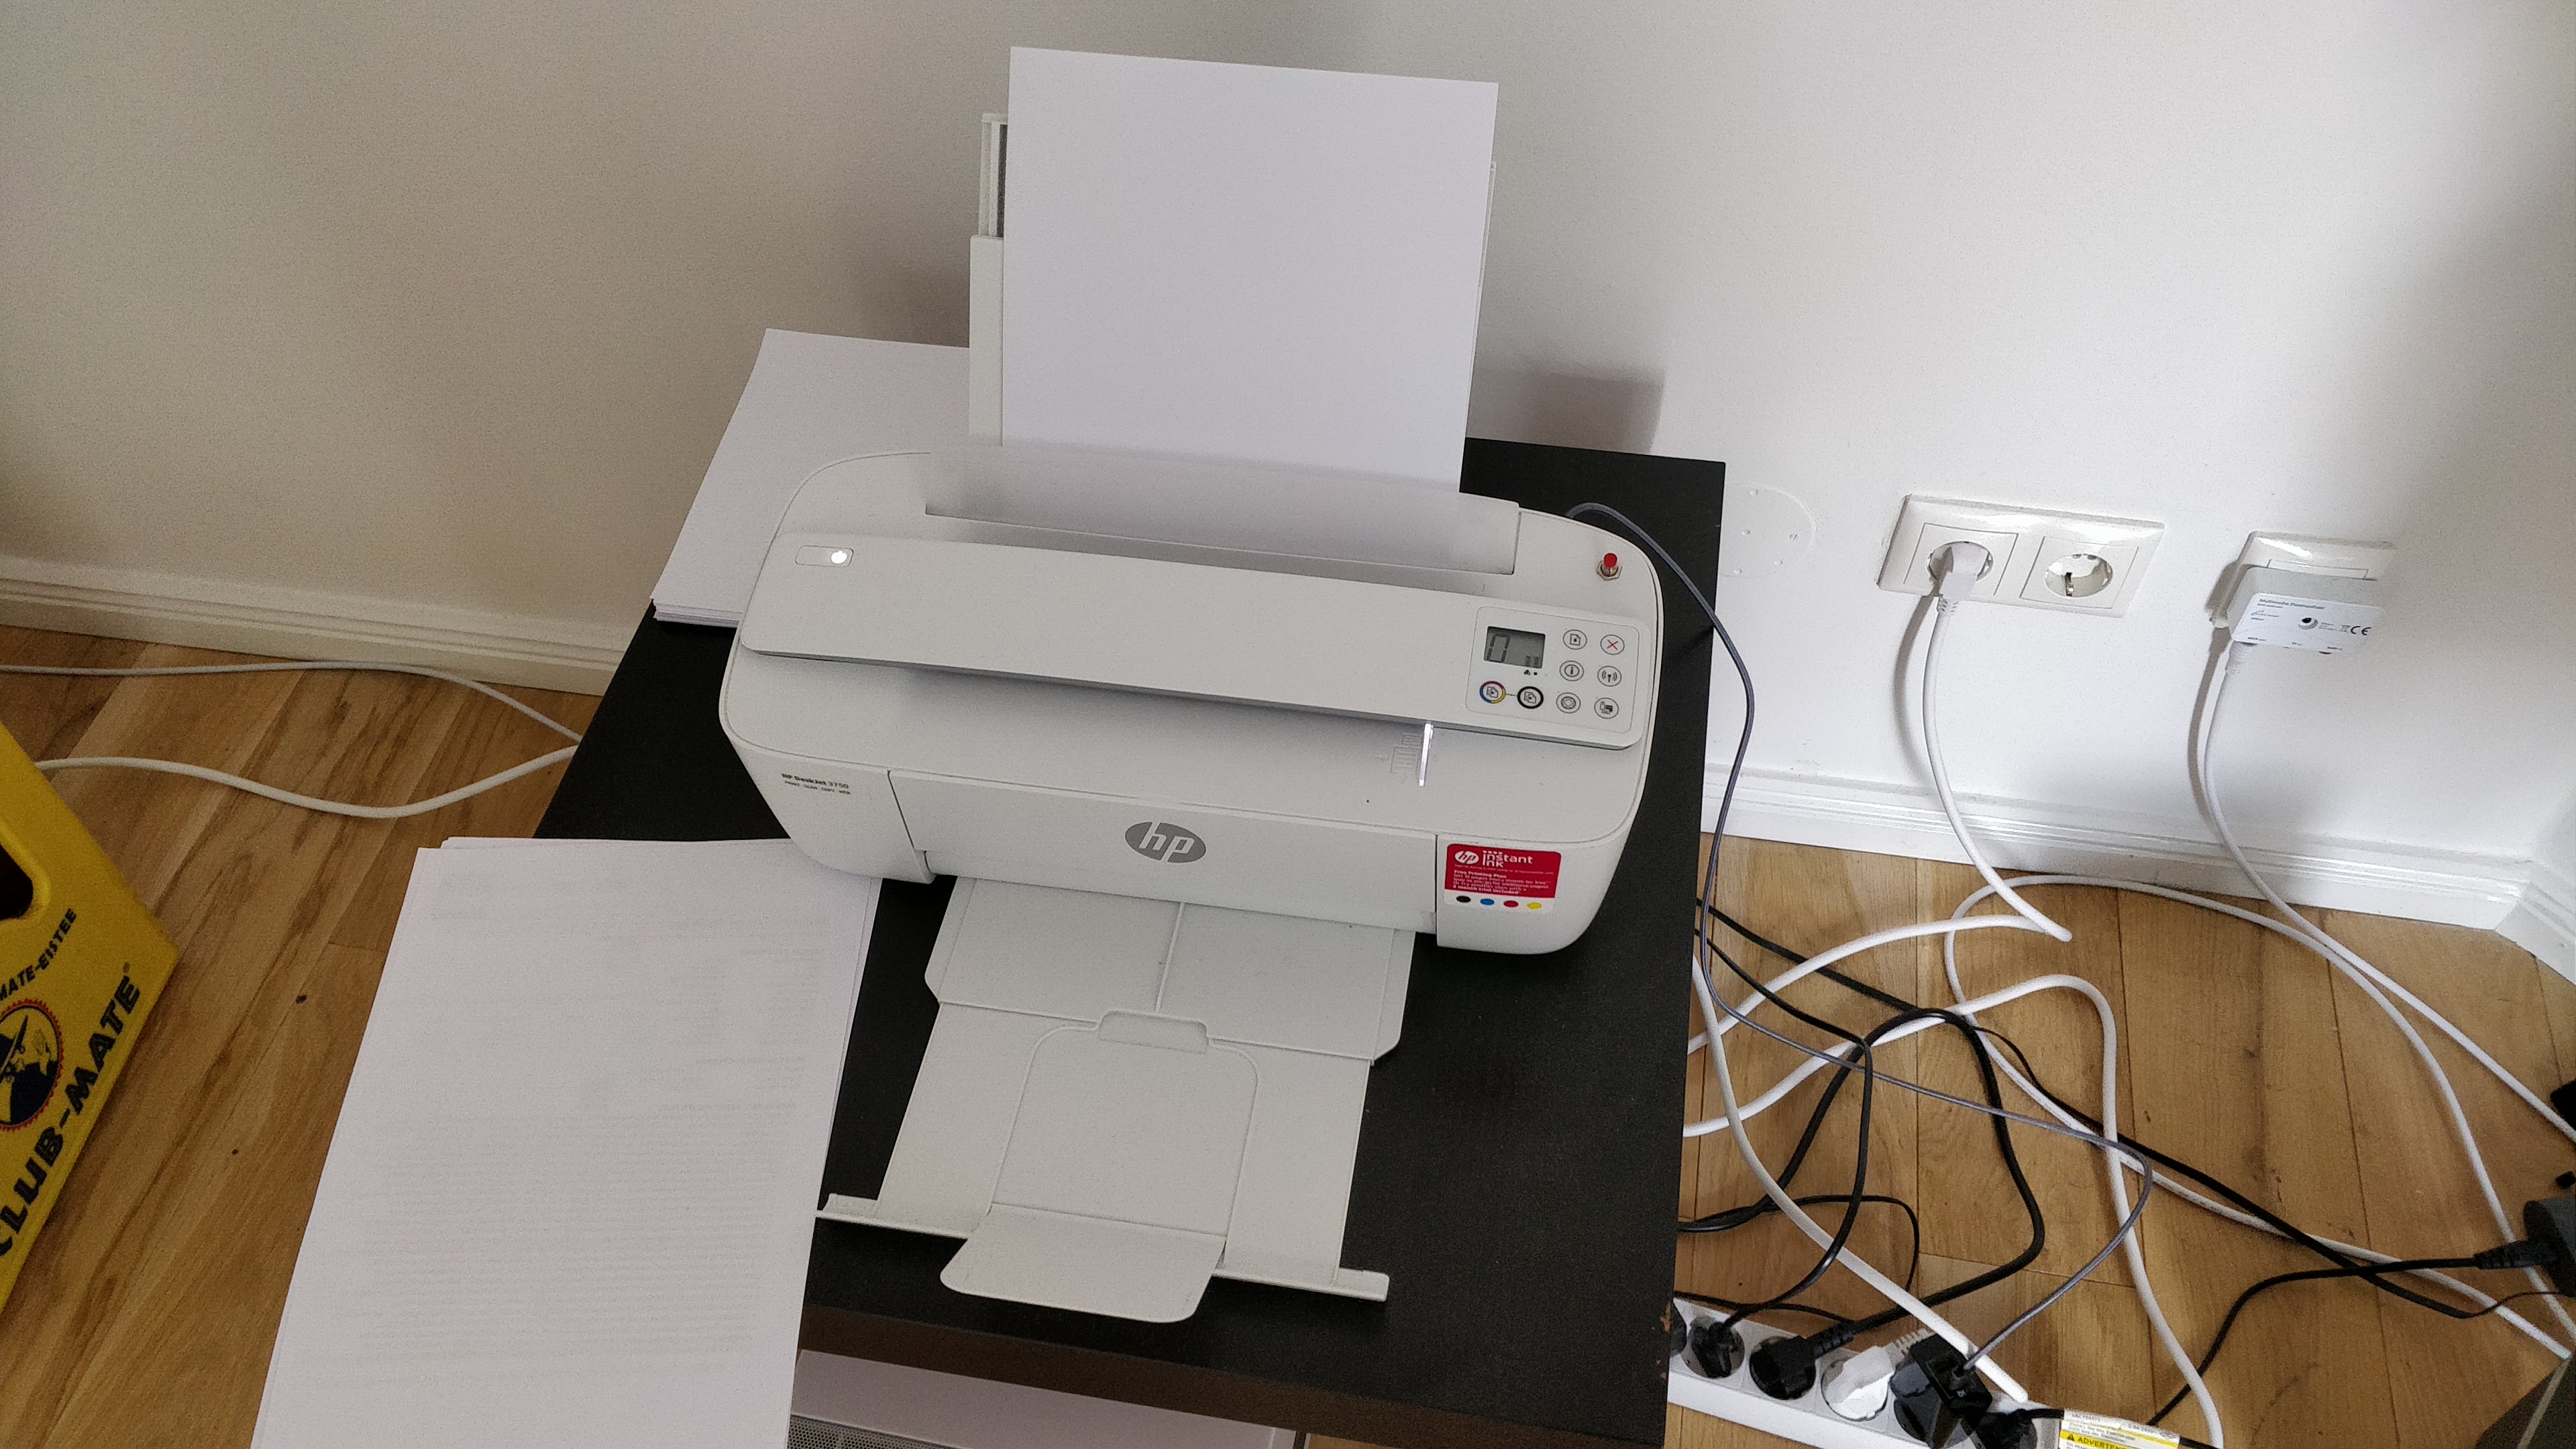
The result
So that’s the project finished. It took quite a while, and was very frustrating at times, but it all worked out in the end. I’m very happy with the results.